Tools.
Instrumental inspection by non-destructive testing methods
To reliably assess the quality of a structure or product, it is advisable to combine different types and methods of non-destructive testing. The table shows all types of non-destructive testing.
Nadzorro's engineering team includes specialists in non-destructive testing and technical diagnostics in the following areas:
- VT - visual-optical
- UT - ultrasonic
- MT - method of coercive force
Inspection of base metal and welded joints in manufacturing sectors: "Metalworking and metal production, Lifting structures, Steel structures and building structures
Own mobile non-destructive testing laboratory
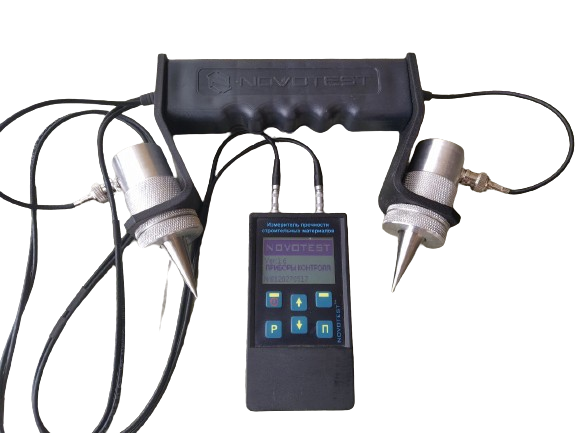
Ultrasound (UT)

Schmidt hammer
A non-destructive method of measuring the hardness of concrete with a Schmidt hammer (sclerometer), based on the principle of elastic rebound. To determine the concrete grade at the site without the need to take samples to the laboratory for testing
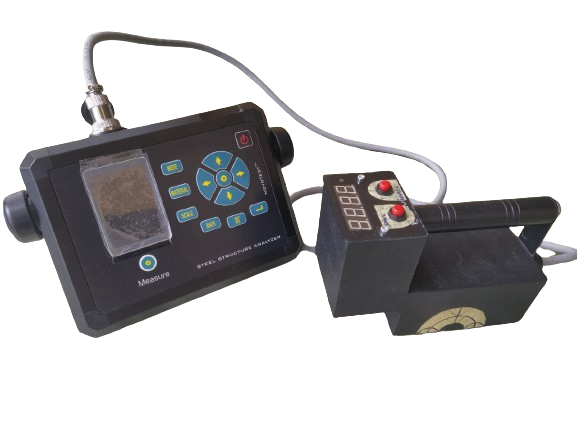
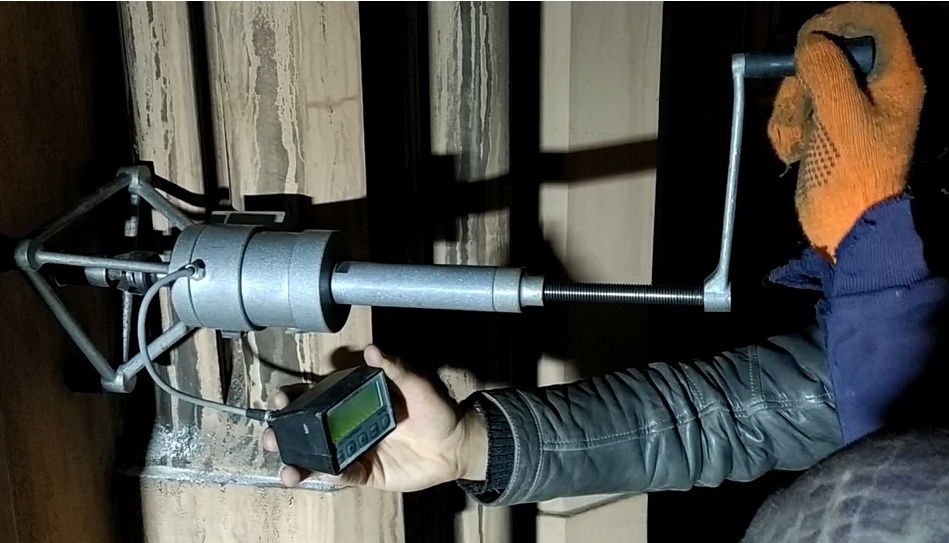
Magnetic structuroscope (MT)
A non-destructive magnetic structurization method for determining and controlling the stress state of metal structures of high-risk facilities, industrial, manufacturing, and other facilities. It is also a traditional non-destructive testing of the mechanical properties of metal products and technologies in metallurgy and mechanical engineering. When the question arises of determining in metal structures the stress areas of excessive load or dynamic load, deformations that occur in accidents, fires, explosions or impacts that accompany them.
Stress diagrams in metal beams
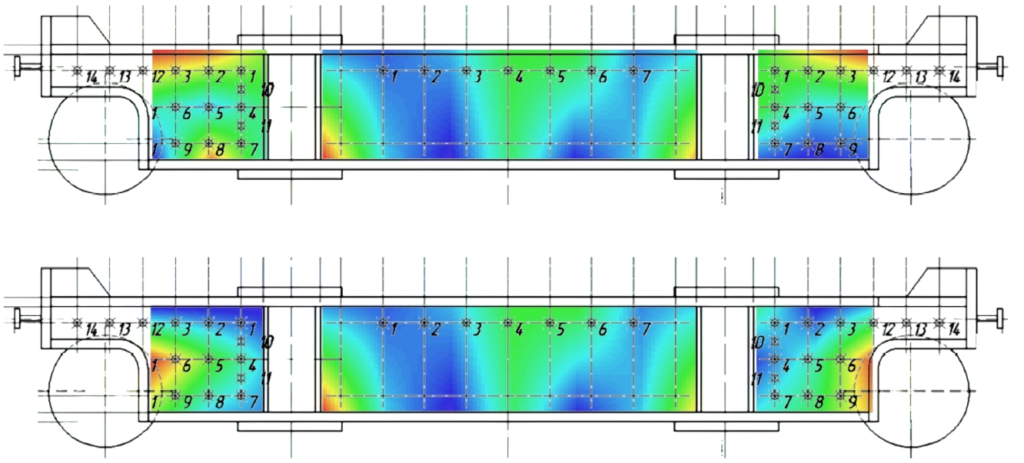
The method is based on the correlation between some magnetic and physical and mechanical properties of materials when they simultaneously depend on the same factors: chemical composition, heat treatment mode, stress state, accumulation of fatigue damage, and others.
The device is a transducer with an attached electromagnet with a built-in Hall sensor and removable pole tips.
The controlled area of the object is magnetized and then demagnetized by an increasing field. Next, the magnetic field strength is recorded in accordance with the coercive force of the material of the controlled part and the amplitude of the signals from the Hall sensor is measured.
Destructive testing methods we use
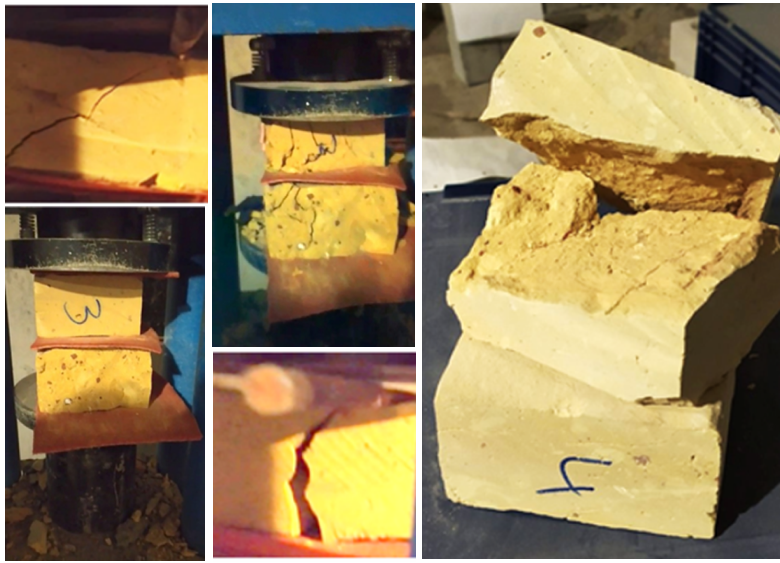
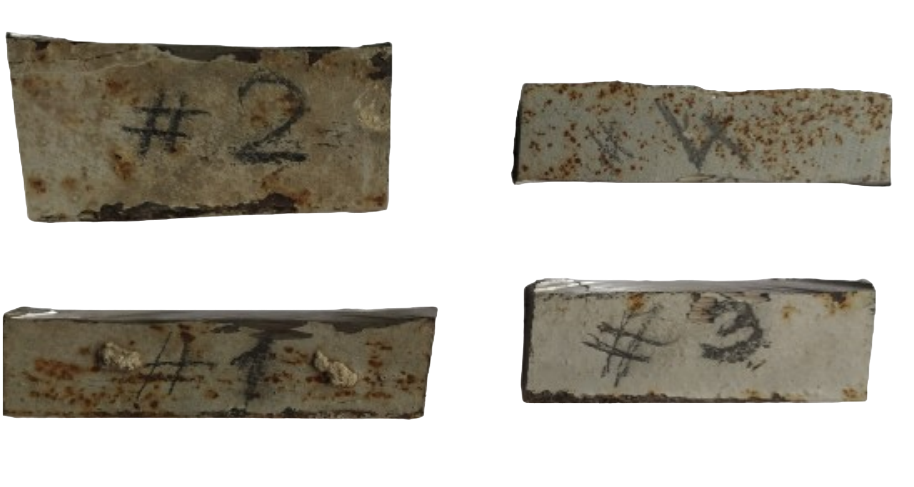
1. Destructive method of strength testing on presses in the laboratory, determines the strength limits of bricks in compression and bending.
Other instrumental examinations
Thermal imaging
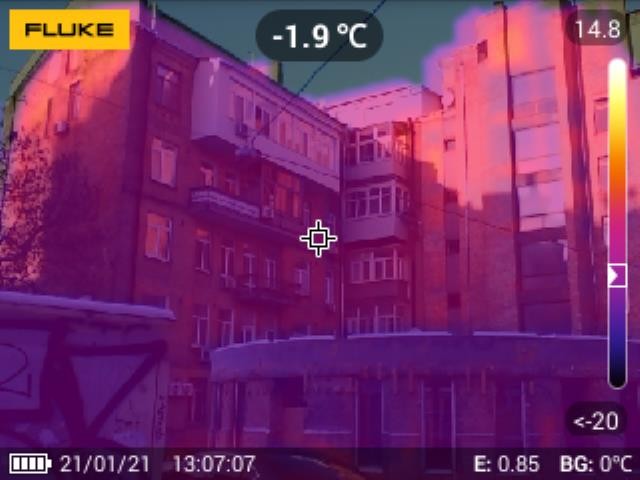
Thermal imaging inspection of facades is effective in winter when there is a difference in indoor and outdoor temperatures. It can indirectly help in finding cracks in load-bearing enclosing structures and facades.
Allows you to identify freezing points, cold bridges, drafts, wetting, leaks, heat losses.
Laser 3D scanning of objects.
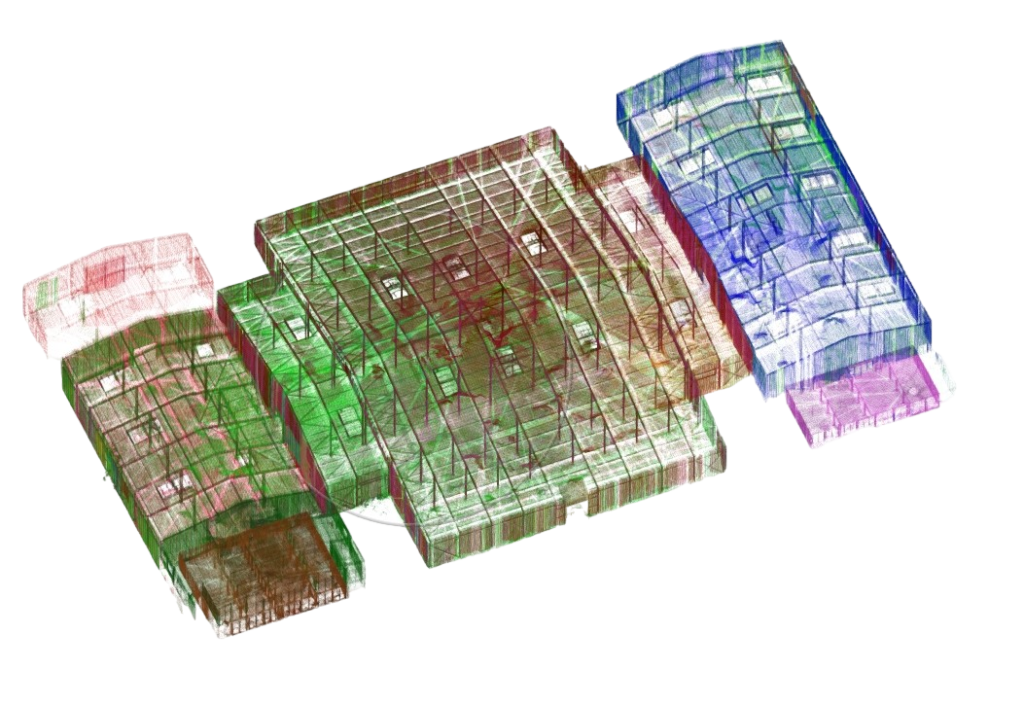
A method of obtaining 2D and 3D models of the surrounding space. During the operation of the devices, a cloud of points with spatial coordinates is created, which gives a three-dimensional image. The resulting object model can contain from several thousand to several million coordinate points. Measurements can be made with an accuracy of up to a millimeter, depending on the task.
We use 3D laser scanning to monitor the deformations of various structures and to predict the behavior of objects during operation. To control the geometric parameters of structures and their actual dimensions, to determine deviations of critical structures from the design position. To collect and preserve information about cultural heritage objects that need to be restored, to record damage.
Allows you to have a digitized spatial model of the building in CAD format, which is convenient to work with, allowing you to make any necessary sections of the model.